
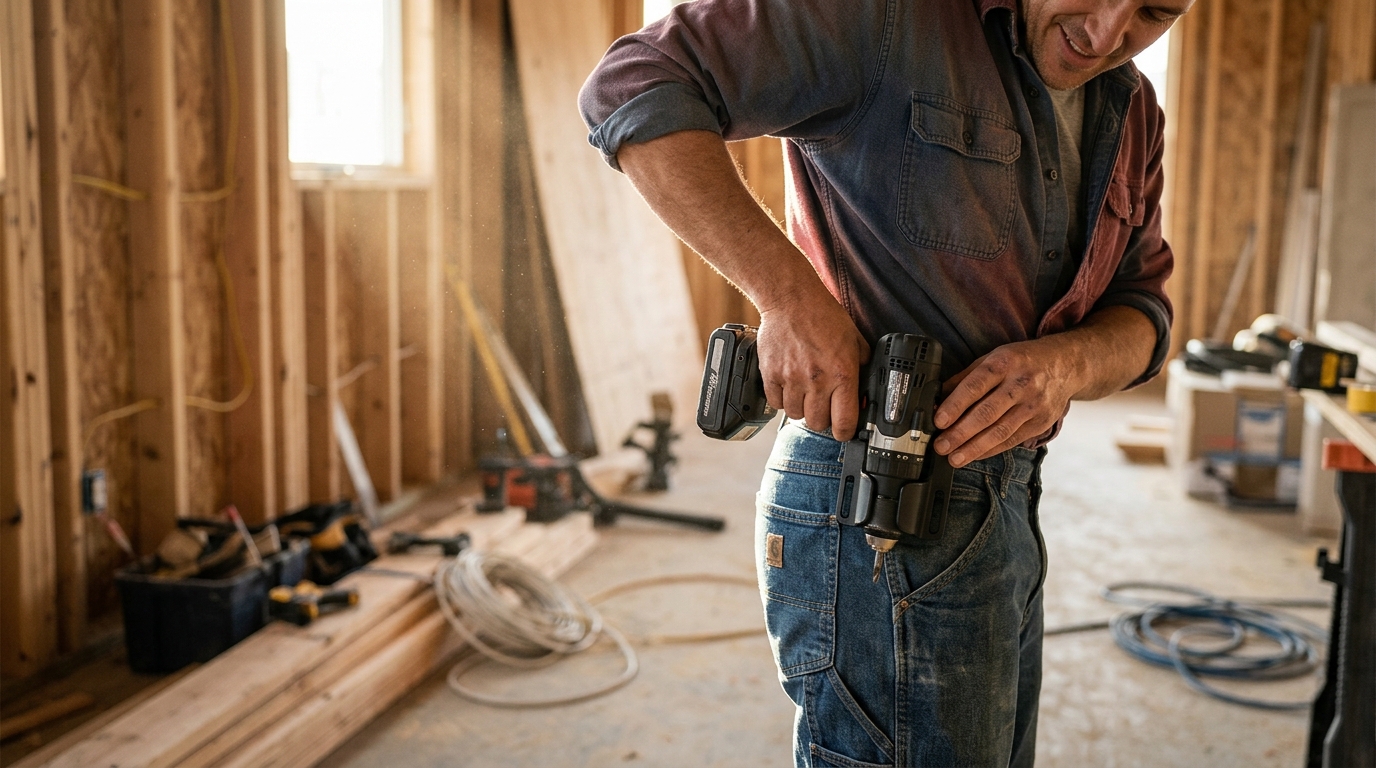
How to Attach Your Drill Caddy Directly to Pants Without a Belt
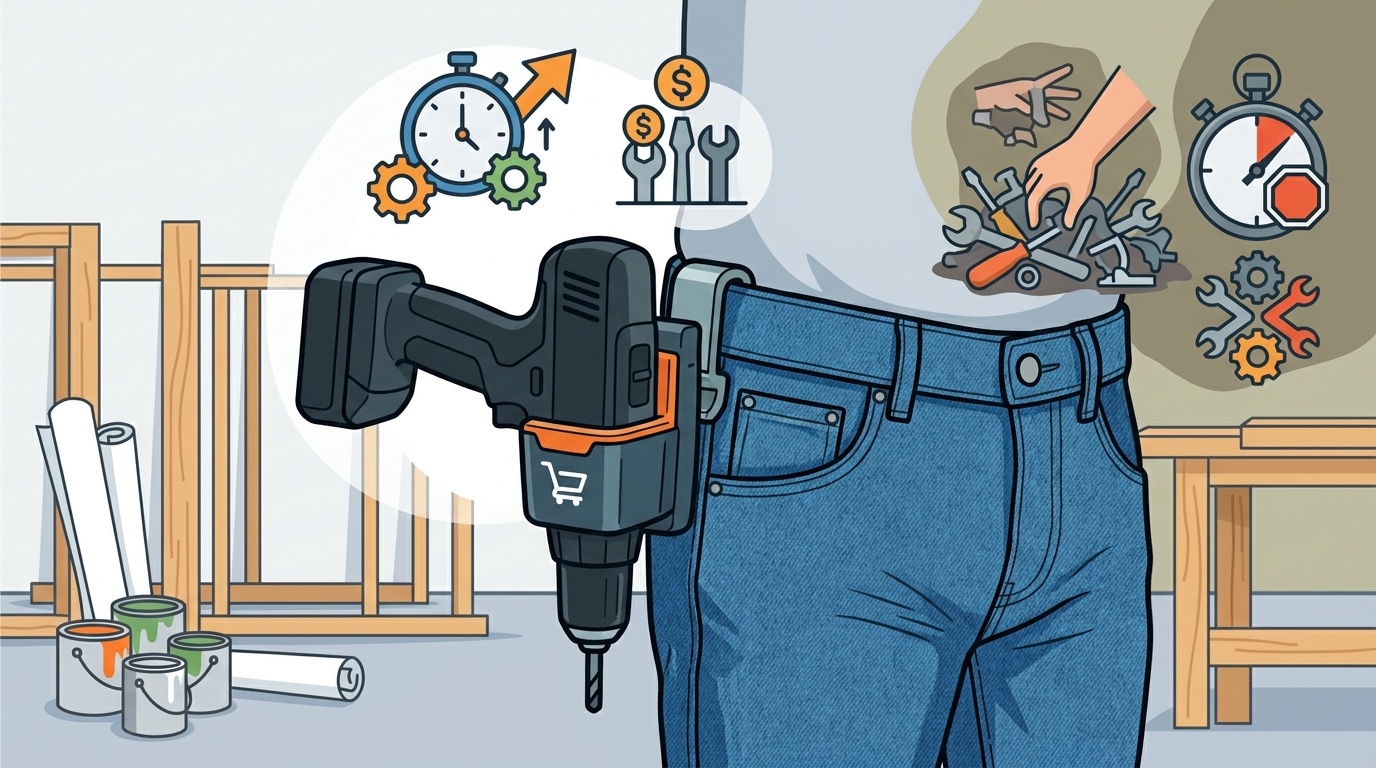
Tradespeople and DIY enthusiasts often face a critical productivity bottleneck when their tools are inaccessible. According to industry data on tool management efficiency, losing just three minutes per hour searching for equipment can reduce daily output by nearly 20 percent. The Drill Caddy was engineered to eliminate this friction, but many users ask how to secure it without relying on a bulky tool belt. This guide details the exact methods to attach your Drill Caddy directly to your pants, ensuring your cordless drill remains within immediate reach while you work. (Contact My Tool Mania)
Understanding the Wearable Design
The Drill Caddy is not a traditional holster. It is a wearable tool organizer designed to hold your cordless drill securely on your body. The system relies on a patent-pending design that allows for versatile attachment points. Unlike standard tool belts that add bulk and weight to your hips, the Drill Caddy distributes the load through specific contact points that interface with your clothing or workspace. (Products My Tool Mania)
My Tool Mania engineered this device to be universal. It fits virtually every major cordless drill brand, from DeWalt to Milwaukee, ensuring that your primary power tool is always accessible. The Bit Caddy complements this by holding your fasteners and bits via a powerful N35 magnet, creating a complete system for head-to-toe tool accessibility.
Method 1: The Waistband Clip
The most direct way to wear the Drill Caddy without a belt is to clip it directly to the waistband of your work pants or jeans. This method is ideal for users who prefer a minimalist setup or who do not wear belts regularly.
Step 1: Position the Caddy
Hold the Drill Caddy against your hip, either on the left or right side, depending on your dominant hand. The device is designed to be worn on the left hip, right hip, front, or back of the waist. For most users, the dominant side offers the fastest access to the drill.
Step 2: Secure the Clip
Take the integrated clip on the back of the Drill Caddy and slide it over the edge of your pants waistband. Ensure the clip is fully seated and tight. The patent-pending mechanism is built for daily, hands-on use, so it will not slip during normal movement. This method keeps your drill right on your waist, eliminating the need for any additional hardware.
Method 2: Belt Loop Integration
If your work pants have sturdy belt loops, you can use them as an anchor point. This method provides a more secure attachment than the waistband alone, especially when the drill is loaded with heavy bits.
Step 1: Align the Caddy
Position the Drill Caddy next to one of your belt loops. The goal is to have the drill hang parallel to your leg, keeping it out of the way of your knees and thighs.
Step 2: Thread the Strap
Many wearable tool organizers include a strap or a secondary clip mechanism. If your Drill Caddy includes a strap, thread it through the belt loop and secure it to the caddy body. If it relies on the primary clip, ensure the clip grips the belt loop firmly. This method is particularly effective for users who wear heavy-duty work pants with wide belt loops.
Method 3: Using Integrated Straps
For users who want a more customized fit, some wearable tool systems allow for the use of elastic straps or adjustable bands. While the Drill Caddy is designed to be worn without a belt, you can enhance stability by using a simple elastic band.
Step 1: Wrap the Band
Take a wide, durable elastic band and wrap it around your waist, positioning it at the level where you want the drill to rest. This acts as a temporary belt.
Step 2: Attach the Caddy
Clip the Drill Caddy to the elastic band. This method is useful for users who wear suspenders or who need to adjust the height of their drill frequently. It provides a secure, non-slip grip that holds the drill firmly in place during active work.
Method 4: Wall or Bench Mounting
While the primary use case is wearable, the Drill Caddy can also be used as a stationary holder. This is useful when you are working on a project that requires both hands free, but you need the drill nearby.
Step 1: Choose a Location
Select a wall, workbench, or sturdy post near your workspace. The Drill Caddy can be mounted using the included hardware. This method is ideal for garage workshops or job sites where you move between fixed locations.
Step 2: Install the Mount
Use the provided screws and anchors to secure the Drill Caddy to your chosen surface. Ensure the mount is level and secure. This method keeps your drill within arm's reach without adding any weight to your body.
Key Takeaways
- Universal Fit: The Drill Caddy is designed to hold virtually any cordless drill brand, ensuring compatibility with your existing tools.
- No Belt Required: The integrated clip allows for direct attachment to waistbands, belt loops, or elastic bands.
- USA Assembled: Every My Tool Mania product is engineered and assembled in the USA, ensuring high-quality construction.
- 30-Day Guarantee: Try the Drill Caddy risk-free with a 30-day money-back guarantee if it does not meet your needs.
- Productivity Boost: Keeping your drill and bits accessible reduces search time and keeps the job moving.
- Bit Caddy Integration: The Bit Caddy can be clipped directly onto the Drill Caddy for combined tool and bit storage.
- Rated 4.9/5: Customers rate the Drill Caddy highly for its sturdiness and quick access to tools.
Frequently Asked Questions
Will the Drill Caddy fit my specific drill model?
Yes. The Drill Caddy is built to securely hold drills of standard sizes from all major brands. It is designed to be a universal solution for cordless drills.
How do I install the Drill Caddy without a belt?
You can install the Drill Caddy by clipping it directly to your pants waistband, threading it through a belt loop, or attaching it to an elastic band. No special tools are needed for installation.
Is the Drill Caddy comfortable to wear all day?
Yes. The Drill Caddy is lightweight and designed to ride comfortably wherever you want it. It distributes the weight of the drill evenly, reducing strain on your hip.
Can I wear the Drill Caddy on my back?
Yes. The Drill Caddy can be worn on the left hip, right hip, front, or back of the waist. This flexibility allows you to customize the fit to your work style.
What is the return policy for the Drill Caddy?
Every order is backed by a 30-day risk-free trial. If the Drill Caddy is not for you, you can send it back for a full refund.
Where are My Tool Mania products made?
Every My Tool Mania product is engineered and assembled in the USA. This ensures high-quality materials and construction standards.
Does the Drill Caddy come with a Bit Caddy?
The Drill Caddy and Bit Caddy are sold separately, but you can purchase them as a bundle to save 15 percent. The Bit Caddy clips directly onto the Drill Caddy for combined storage.
How do I clean the Drill Caddy?
The Drill Caddy is made of durable materials that can be wiped clean with a damp cloth. Avoid submerging the device in water to protect the internal mechanisms.
Get Your Drill Caddy Today
Stop digging through your tool belt and start working smarter. The Drill Caddy puts your cordless drill right on your waist, always accessible. Visit https://mytoolmania.com/collections/drill-caddy to shop the Drill Caddy, or explore the https://mytoolmania.com/collections/bundle to save 15 percent on the complete system. With free shipping on US orders over $40 and a 30-day money-back guarantee, there is no risk to trying the wearable tool organization that tradespeople trust.