
How to Install and Use Your Drill Caddy for Hands-Free Waist Mounting
Tradespeople and serious DIYers lose an average of 15 to 20 minutes per day just hunting for their cordless drill. This time is not just lost productivity; it breaks workflow rhythm and increases physical fatigue from constant bending and reaching. The Drill Caddy was engineered to eliminate this friction by keeping your primary tool right on your waist. This guide explains exactly how to install and wear the Drill Caddy for maximum accessibility and comfort.
Understanding the Wearable Design
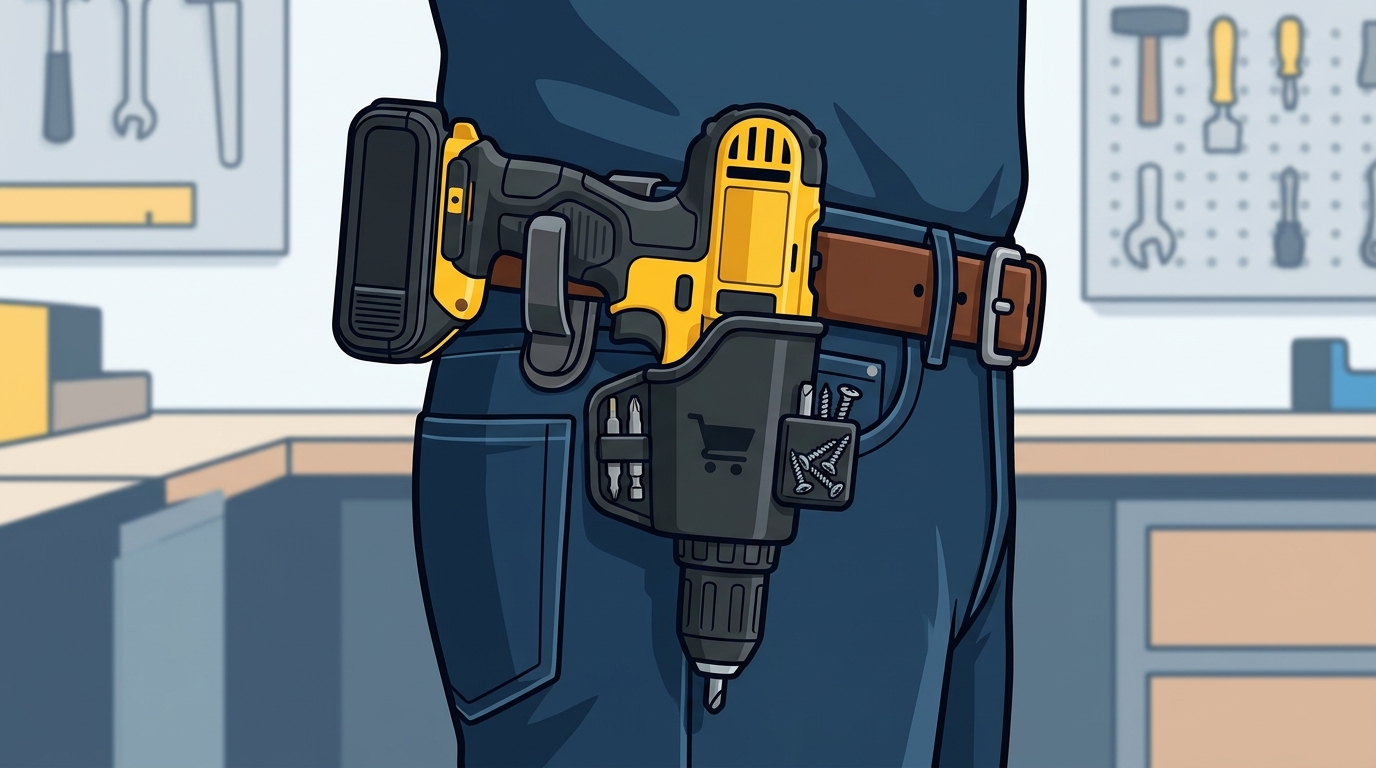
The Drill Caddy is not a traditional holster. It is a wearable tool organizer designed to hold virtually any cordless drill brand without requiring a bulky tool belt. The patent-pending design allows the caddy to slide onto your waistband or belt loops in seconds. This system is built for people who build everything, from framing houses to finishing basements.
Unlike standard holsters that require complex buckles or straps, the Drill Caddy uses a streamlined mounting mechanism. This ensures that your drill is always with you, stored right on your waist, ready for the next job. The design prioritizes quick access over secure locking, as the weight of the drill keeps it stable during movement.
Preparation and Sizing
Before installation, ensure you have the correct setup for your workload. The Drill Caddy is priced at $24.99 and is designed to fit standard cordless drills. However, compatibility depends on the drill's base width and weight distribution.
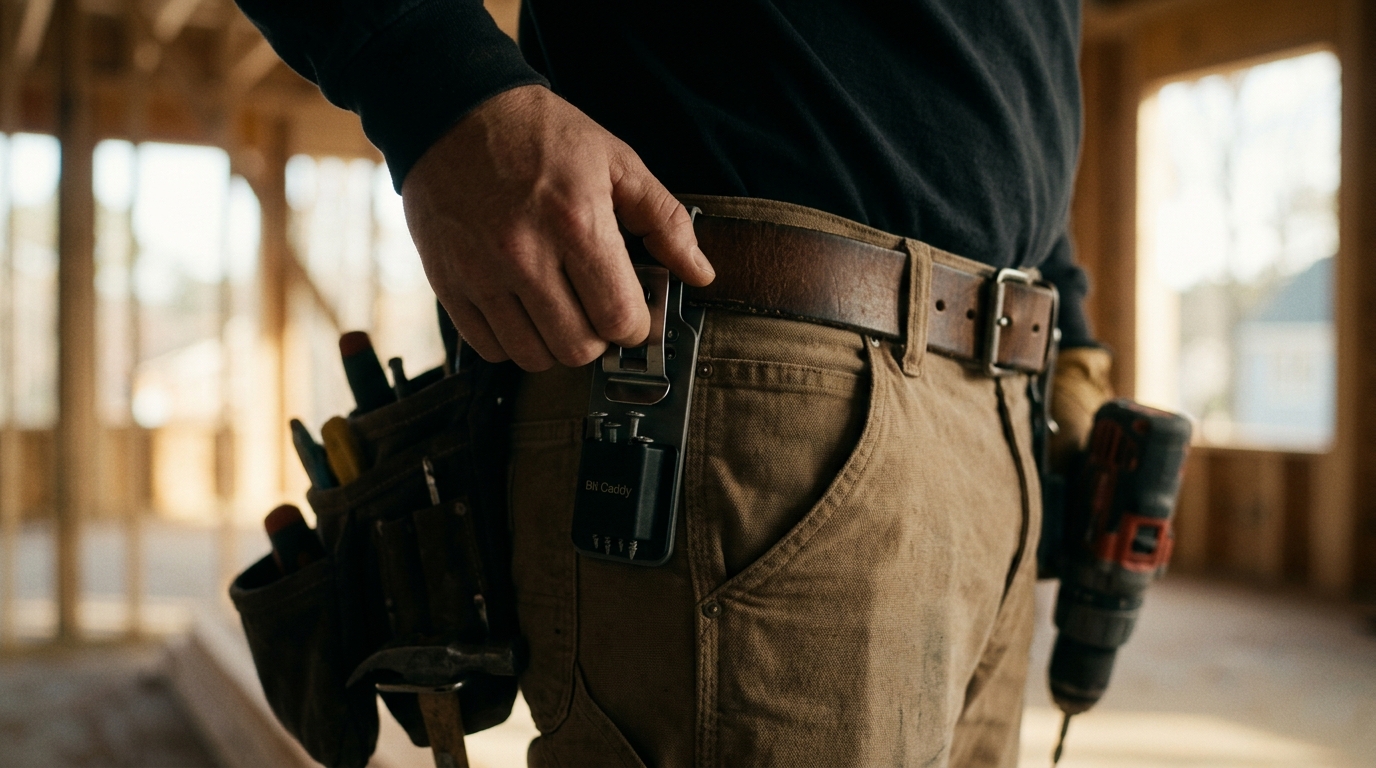
If you are using the Drill Caddy in conjunction with the Bit Caddy, you must decide on your preferred configuration. The Bit Caddy, available for $29.99, uses a powerful N35 magnet to hold bits and fasteners. It can be worn independently on your waist or clipped directly onto the Drill Caddy. For those seeking complete head-to-toe tool accessibility, the Complete Bundle offers a 15% discount, pairing the drill holder with either the Regular or Large Bit Caddy.
Step-by-Step Installation
Installing the Drill Caddy is designed to be faster than putting on a traditional holster. Follow these steps to mount your caddy securely.
Step 1: Choose Your Mounting Location
You can wear the Drill Caddy on your left hip, right hip, front, or back of the waist. Most users prefer the dominant side for quick access. If you are right-handed, mounting it on your right hip allows for immediate drill retrieval without crossing your body.
Step 2: Slide Onto Your Belt or Waistband
The Drill Caddy does not require a tool belt, but it works seamlessly with one. To install:
- Hold the Drill Caddy by the mounting bracket.
- Align the opening with your belt loop or waistband.
- Slide the caddy down until it sits securely against your hip.
The design ensures it stays in place during movement. If you are wearing it without a belt, ensure your waistband is tight enough to prevent the caddy from sliding down during physical labor.
Step 3: Insert Your Drill
Once the caddy is mounted, slide your cordless drill into the holder. The internal structure is engineered to grip the drill's base firmly. You should hear a subtle click or feel a secure resistance when the drill is fully seated. This confirms that the drill is locked in place and ready for use.
Optimizing Tool Access
Proper installation is only half the equation. To truly boost productivity, you must optimize how you access your tools while wearing the Drill Caddy.
Integrating the Bit Caddy
For maximum efficiency, pair your Drill Caddy with the Bit Caddy. The Bit Caddy clips directly onto the side of the Drill Caddy. This creates a unified system where your drill and bits are always together. When you need to change a bit, you simply reach to your side, detach the bit from the magnet, and swap it out without ever letting go of the drill.
Managing Fasteners
If you are using the Bit Caddy for fasteners, ensure you are not overloading it. The N35 magnet can hold a significant number of screws or nails, but excessive weight can cause the caddy to tilt. Distribute the weight evenly to maintain balance. For larger jobs, consider the Large Bit Caddy to accommodate more hardware.
Avoiding Interference
When wearing the Drill Caddy, be mindful of your movement. The caddy is designed to ride comfortably, but tight clothing or bulky tool belts can interfere with the mounting mechanism. Wear loose-fitting work pants or ensure your tool belt is positioned correctly to avoid friction against the caddy's base.
Care and Maintenance
The Drill Caddy is built for daily, hands-on use. To ensure longevity, follow these maintenance guidelines.
Cleaning the Caddy
Wood dust, metal shavings, and concrete residue can accumulate in the mounting bracket. Wipe down the caddy with a dry cloth after each job. For stubborn debris, use a soft brush to clean the interior. Avoid using harsh chemicals that could degrade the materials.
Inspecting the Magnet
If you are using the Bit Caddy, periodically check the N35 magnet for debris. Metal filings can reduce magnetic strength. Use a magnet to remove filings from the surface. This ensures your bits and fasteners remain secure during movement.
Storage
When not in use, store the Drill Caddy in a dry place. Avoid leaving it in direct sunlight for extended periods, as UV exposure can weaken the materials over time. The My Tool Mania team designs products for real everyday use, so proper care will extend the lifespan of your investment.
Key Takeaways
- The Drill Caddy is a wearable tool organizer that holds virtually any cordless drill brand.
- Installation takes seconds and requires no tool belt, though it works with one.
- The Bit Caddy clips directly to the Drill Caddy for unified tool access.
- The system is engineered and assembled in the USA for durability.
- A 30-day money-back guarantee allows risk-free testing of the product.
- Free shipping is available on US orders over $40.
- The Drill Caddy is priced at $24.99, with the Bit Caddy at $29.99.
Frequently Asked Questions
Will the Drill Caddy fit my specific drill model?
Yes. The Drill Caddy is built to securely hold drills of standard sizes from all major brands. It is designed to accommodate the base width and weight of most cordless drills used by tradespeople.
How do I install the Drill Caddy without a tool belt?
You can slide the Drill Caddy directly onto your waistband. Ensure your waistband is tight enough to prevent the caddy from sliding down during physical labor. The design is intended to be worn solo or added to a belt you already own.
Can I wear the Drill Caddy on my back?
Yes. The Drill Caddy can be worn on your left hip, right hip, front, or back of the waist. Most users prefer the front or side for easier access, but back mounting is possible if it suits your workflow.
What is the return policy for the Drill Caddy?
Every order is backed by a 30-day risk-free trial. If the Drill Caddy is not for you, you can send it back for a full refund. This policy ensures you can test the product with no financial risk.
Where are My Tool Mania products made?
Every My Tool Mania product is engineered and assembled in the USA. The company prioritizes domestic manufacturing to ensure quality control and support local production.
How do I attach the Bit Caddy to the Drill Caddy?
The Bit Caddy clips directly onto the side of the Drill Caddy. This creates a unified system where your drill and bits are always together. The clip is designed for quick attachment and detachment.
Is the Drill Caddy compatible with heavy-duty drills?
Yes. The Drill Caddy is designed to hold heavy-duty drills. The internal structure is engineered to grip the drill's base firmly, ensuring stability even with larger, heavier tools.
Ready to Upgrade Your Workflow?
Stop losing time hunting for your tools. The Drill Caddy and Bit Caddy system is designed to keep your most-used gear close, organized, and ready for the next job. Visit the My Tool Mania Shop to explore the full lineup and find the setup that fits the way you work. With free shipping on orders over $40 and a 30-day money-back guarantee, there is no reason to wait.